· @Penllysbach
0 followers · 1 posts · Server toot.walesTom · @h03rnchen
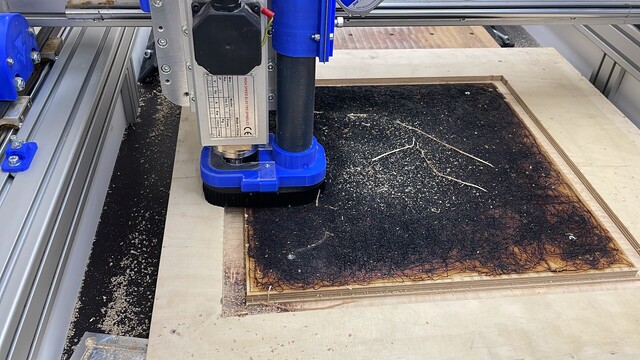
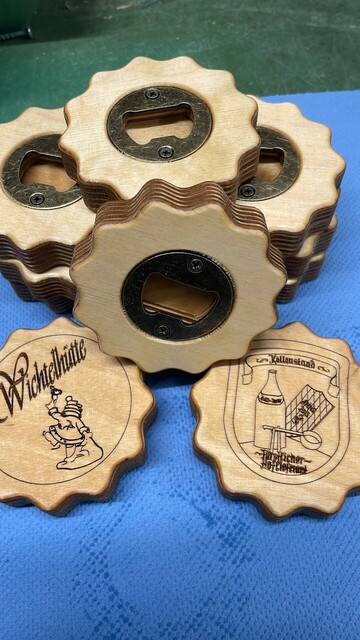
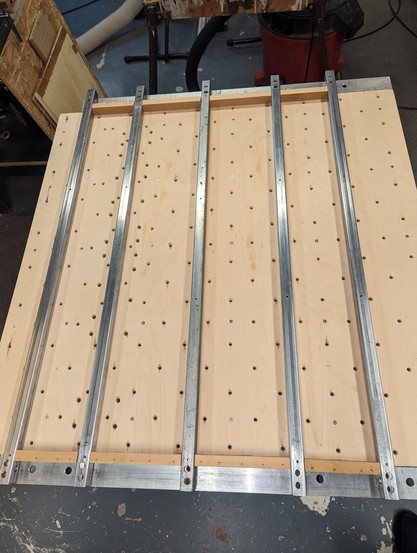
56 followers · 277 posts · Server sueden.socialSchon lange keine Späne mehr produziert hier. Der Laser bekommt ein neues Bett. Das Alte ist ein wenig „verbraucht“ 🙈 hab was fertiges mit Streckmetall gefunden. Das soll hier in den Ausschnitt den ich aus der Platte hole. #cncrouter
Stephen Nourse · @san
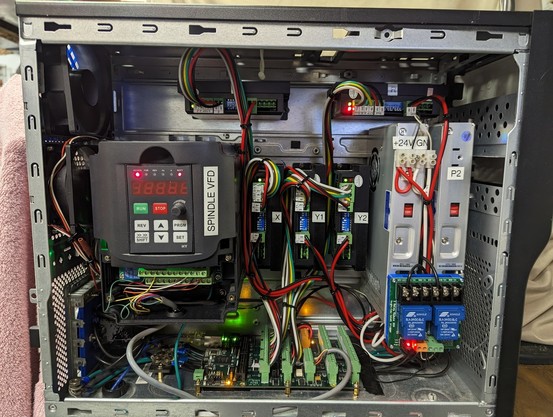
12 followers · 20 posts · Server noc.socialAnother big step. Got the controller for the CNC2 wired up on the bench and powered up - with no magic smoke! Even talks to LinuxCNC the way it's supposed to (via a MESA 7i76e mounted in the bottom). Everything fits in a repurposed computer case. Now to finish the configuration and attach the seemingly 100 wires hanging off the actual unit. #cnc #linuxcnc #maker #cncrouter
#cncrouter #maker #linuxcnc #cnc
Stephen Nourse · @san
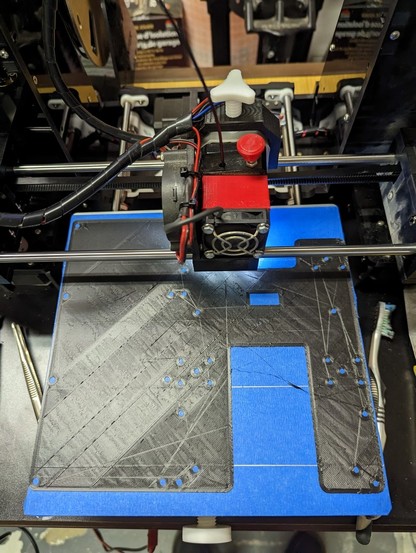
9 followers · 15 posts · Server noc.socialPerfect first layer for a 20 hour carbon fibre PETG print. Just about the max size my bed will handle. A new Z carriage for my old CNC. Stole the spindle for my new one and retrofitting a router to the old one. (Bonus points if that makes sense to you) #3dprinting #CNC #cncrouter
corbin dunn · @nibroc
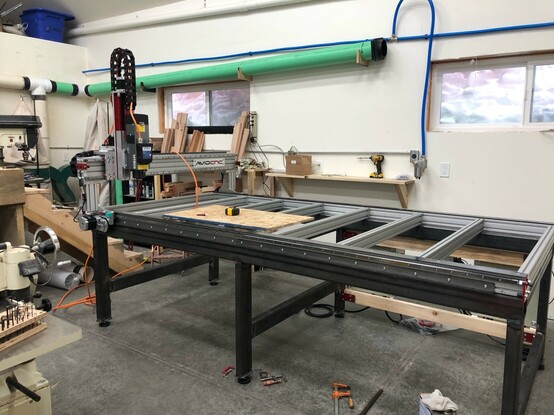
314 followers · 70 posts · Server mastodon.socialCurrent status of the new CNC build: I can jog along all axes (is that the right plural of axis?), but I need more stuff to finish off the spindle. Playing with Mach 4 is super awesome...it is really easy to program macros in Luna. #cnc #cncrouter #avidcnc #cncwoodworking
#cnc #cncrouter #AvidCNC #cncwoodworking
Tom · @h03rnchen
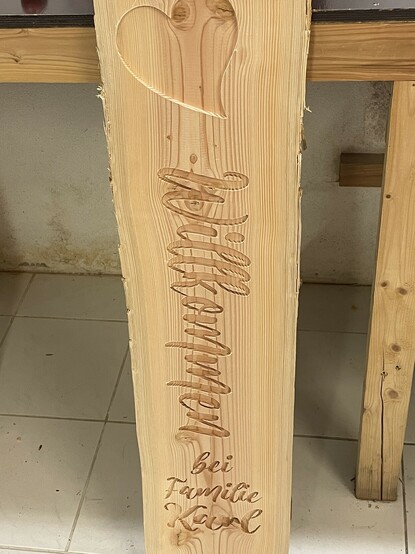
49 followers · 199 posts · Server sueden.socialGeölt und montiert sehen die einfach geil aus 😎 #CNC_Fraese #cncrouter #cnc #heimwerken
#cnc_fraese #cncrouter #cnc #heimwerken
Tom · @h03rnchen
49 followers · 196 posts · Server sueden.socialWas Mann halt so nach Feierabend im Keller macht. Der Kopf ist dafür jetzt frei 👍 #cnc #cncrouter #CNC_Fraese #Lasercutter
#cnc #cncrouter #cnc_fraese #Lasercutter
Stephen Nourse · @san
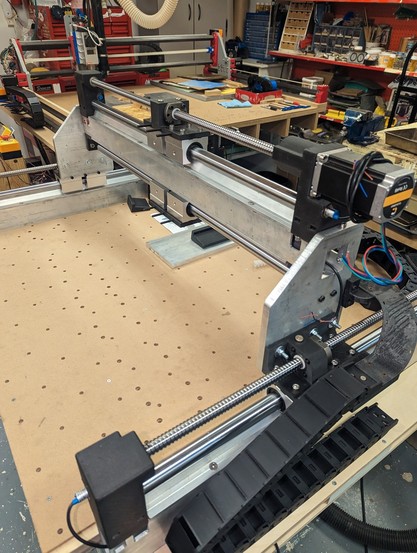
7 followers · 9 posts · Server noc.socialRed letter day today! Installed the X-axis gantry on the CNC2 - and everything fit! All the black "stuff" other than steppers and cable track is all 3d printed in carbon fibre PETG. I figure between using it and what I have learned about 3d printing over a couple of years my parts on this one are probably double the strength of the ones on my original CNC in the background. Z axis to go - and wiring, electronics, programming, etc, sigh.
#CNC #3dprinting #maker #linuxcnc #cncrouter #mpcnc
#mpcnc #cncrouter #linuxcnc #maker #3dprinting #cnc
corbin dunn · @nibroc
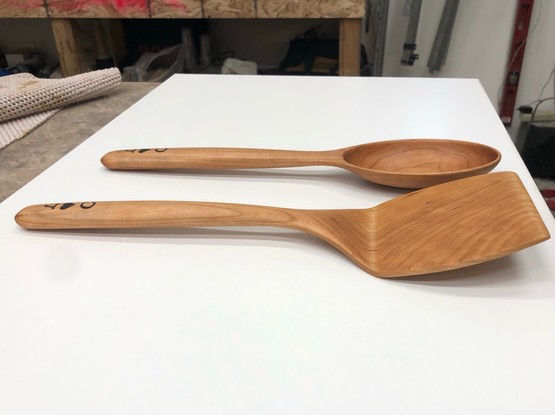
249 followers · 47 posts · Server mastodon.socialSpoon and spatula that I designed and made. I eventually am going to share the process and the files so other people can make them! #cnc #cncrouter #cncwoodworking #woodworking #router #cherry
#cnc #cncrouter #cncwoodworking #woodworking #router #cherry
Stephen Nourse · @san
7 followers · 6 posts · Server noc.socialDuring the base assembly on my CNC2 project (a smaller, stiffer build) I realized I could easily add a vacuum hold down system to it. There were already holes in the bed for the hold down system and the rails underneath naturally divided things into sections. All I needed to add was some blocking, a bottom and some valving - et voila! The amazing thing is it actually works well. Next, machining the side plates to mount the X axis.
#cnc #maker #linuxcnc #cnchacks #3dprinting #cncrouter
#cncrouter #3dprinting #cnchacks #linuxcnc #maker #cnc
corbin dunn · @nibroc
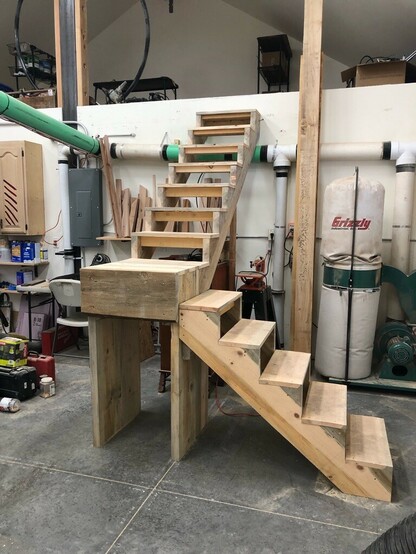
239 followers · 41 posts · Server mastodon.socialI cut my stairs and made a landing. I wanted to make some more room for my future CNC machine. #cnc #cncrouter #woodshop #woodworking
#cnc #cncrouter #woodshop #woodworking
Wayne Geiser · @KC1ONM
5 followers · 2 posts · Server mastodon.hams.socialLast night, I finished the #cribbage board I made on the #cncrouter at my #makerspace. It is a #christmasgift for my son-in-law. I'm very pleased with how it (only my second CNC project) came out!
#cribbage #cncrouter #makerspace #christmasgift
corbin dunn · @nibroc
208 followers · 32 posts · Server mastodon.socialTesting some vcarving techniques with parallel grain. It is not working out so well...getting lots of gaps. And then I broke the bit by hitting it with a piece of wood. Doh! Oh well...I'll work on it later. #woodworking #cncwoodworking #cnc #wood #inlay #cncinlay #cncrouter #router #tormach
#woodworking #cncwoodworking #cnc #wood #inlay #cncinlay #cncrouter #router #tormach
Nelson Castillo · @nelson
86 followers · 281 posts · Server col.socialYa casi. Solo faltan unas conexiones. Esperemos que hoy salga todo
Enfermedad boba, esperando médico. #cnc #cncrouter
Dave Anderson · @danderson
1603 followers · 385 posts · Server octodon.socialMade it! All the holes are lined up enough that it all bolts in. The centering jigs say it's even centered on the frame!
Now, one more of those on the other side...
Dave Anderson · @danderson
1592 followers · 371 posts · Server octodon.socialIf I can get my brain in gear, today is more #CNC router building. I'd like to make progress on the Y axis, which means installing a pair of linear rails and ballscrews.
Realistically given my velocity, I might get the rails in and the ballscrew mounting blocks done, but the rails require drilling and tapping a squillion holes without fucking up, so... I doubt I'll get further than that.
On the upside, I get to play with steel blue layout fluid today! We'll see if that helps to better locate the transferred hole centers.
Unrelated, did you know CNC stands for "consensual non-consent"? Because TIL, and the #CNC hashtag caters to a very specific niche of kinky maker, apparently.
corbin dunn · @nibroc
63 followers · 16 posts · Server mastodon.socialJiggle jiggle! #cncwoodworking #cnc #woodworking #cncrouter
Ansel's Bowl.
#cncwoodworking #cnc #woodworking #cncrouter
Dave Anderson · @danderson
1459 followers · 360 posts · Server octodon.socialToday's plan is to assemble the base frame of the #cncrouter . I have the three X frame beams prepped, and the underside of the Y axis beams. So now, if I didn't screw up the hole locations too badly, I should be able to bolt it all up and square the frame.
Of course, I know I messed up some of the hole locations on the X frame, so I'm going to have to survey my holes first and see if all my mistakes happen to be on one side of the beams. In which case, I can use that side as the bottom of the frame, because those holes are just tool access holes and don't need to be perfectly precise, as long as I can get an allen wrench in there to access the bolts.
Assuming that all goes well, next step is to work on the top side of the Y axis: installing ballscrew mounts and linear rails, which involves absolutely all the tapped holes in the universe.
Dave Anderson · @danderson
1459 followers · 360 posts · Server octodon.socialGood thing I read ahead in the #cncrouter assembly instructions. Turns out M5 tapped holes require a 4.2mm bit for drilling prior to tapping. I only have 4.0 and 4.5mm.
Oh well, at least it's far enough out that the bits should get here before I need them.
Dave Anderson · @danderson
1459 followers · 360 posts · Server octodon.socialI was grumpy because uncle bezos's discount crap emporium didn't send me the transfer punches that I need to mark where holes need to be drilled for my #cncrouter. And then someone said "why don't you just 3D print a collar for your center punch?"
... It had honestly not occurred to me that 3D printers can print things other than more 3D printers.
Anyway, 5 minutes of CAD later, a collar for my center punch is printing, which hopefully will get the punch to center neatly in the jig holes. It's also possibly the smallest thing I've ever 3D printed, basically a 3.4mm by 4mm cylinder with a tapered inside to match the shape of my punch.
