Tim 🎮 · @timixretroplays
177 followers · 1122 posts · Server fosstodon.org@fcktheworld587 @0xabad1dea I made the big one! You can see some past work on it via #GravisGamePad but there's a video of me actually playing on it here: https://fosstodon.org/@timixretroplays/110224865601352535
Tim 🎮 · @timixretroplays
173 followers · 1105 posts · Server fosstodon.orgDon't ever talk to me or my son ever again.
#gravisgamepad #3dprinting #arduino
Tim 🎮 · @timixretroplays
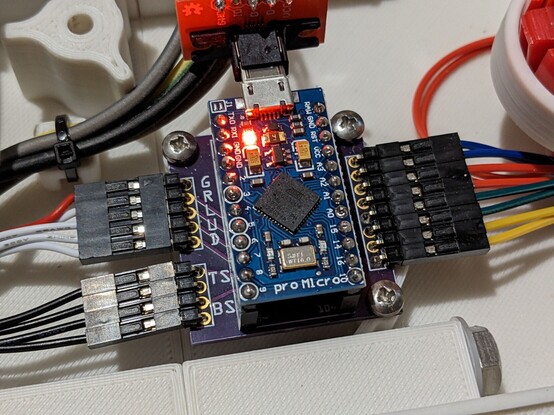
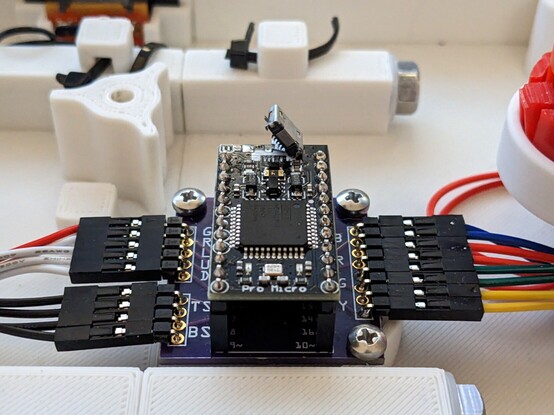
116 followers · 595 posts · Server fosstodon.orgNext up was to stop the ominous red glow from the interior. The #Arduino Pro Micro's red LED served neatly as a power light during development, but the original #GravisGamePad had no such light anywhere, so behind a couple of layers of self-adhesive rubber it went (a couple, because apparently one wasn't enough!). #retrogaming
#arduino #gravisgamepad #retrogaming
Tim 🎮 · @timixretroplays
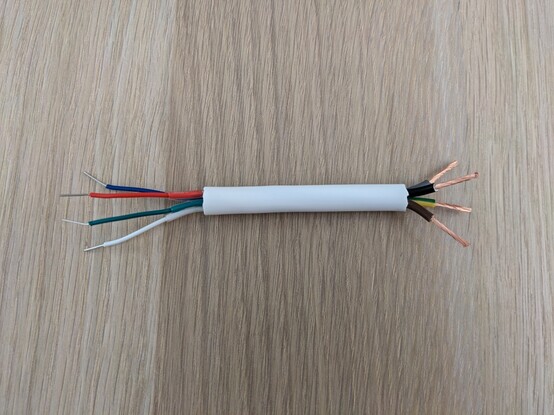
116 followers · 594 posts · Server fosstodon.orgTaking some time this weekend to finish work on the giant #GravisGamePad. Top of the list was the cable.
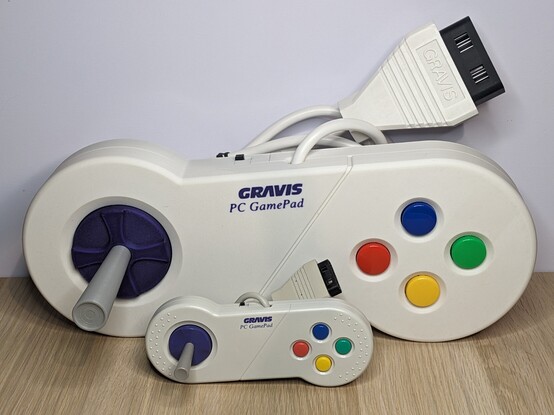
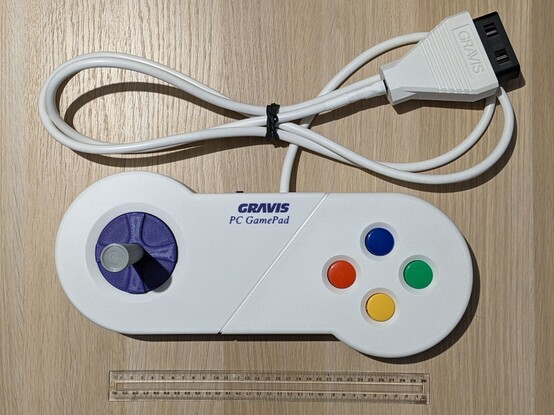
To be faithful but practical, I've made it to *spec*, not to *scale* - five metres of this stuff would have weighed like half a kilo by itself and been useful to nobody. This one's two metres long, no bigger than a womp rat, just like the original. #retrogaming
Tim 🎮 · @timixretroplays
95 followers · 453 posts · Server fosstodon.orgHere's a short video to give an idea of scale and what it sounds like in action: https://www.youtube.com/watch?v=MRrprExgZtY
#3dprinting #arduino #retrogaming #gravisgamepad
Tim 🎮 · @timixretroplays
95 followers · 451 posts · Server fosstodon.orgWe do these things not because they are easy, but because we thought they would be easy. #3dprinting #Arduino #retrogaming #GravisGamePad
Question for everyone: with the giant gamepad nearly done (there's still a few little touches, some project housekeeping to do), what would you want to see in a video about it? What questions would you like answered? I won't be sharing STLs or a BOM, but I will share the Arduino code and would love to talk about the design and problem-solving along the way.
#3dprinting #arduino #retrogaming #gravisgamepad
Tim 🎮 · @timixretroplays
94 followers · 445 posts · Server fosstodon.orgTurns out my clever attempt at strain-relief did not, in fact, relieve any strain, and I managed to introduce enough torsion to rip the micro-USB socket right off the board. Rest in peace, little #Arduino Pro Micro clone.
I have one more idea to try before giving up on the 3-phase USB cable. Stay tuned for the next installment of "stubborn Australian fool wastes his time and energy on ridiculous things". #GravisGamePad
Tim 🎮 · @timixretroplays
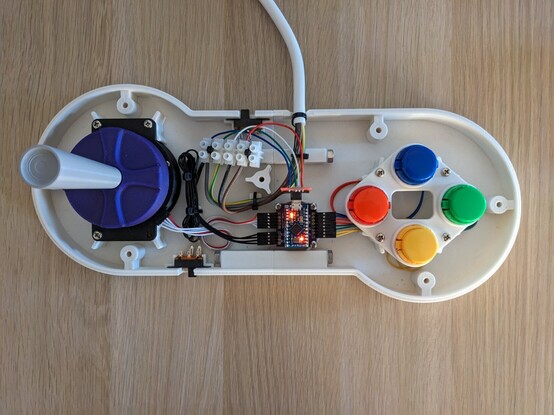
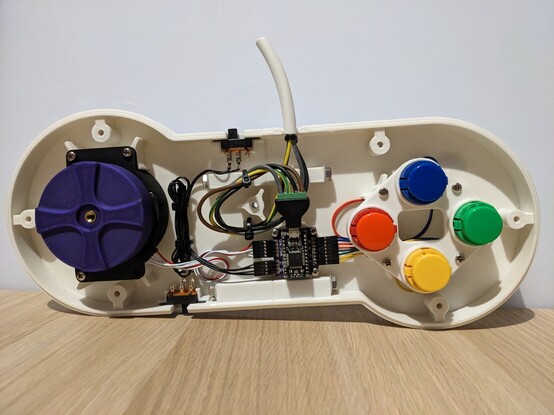
94 followers · 434 posts · Server fosstodon.orgThe extension cable was still a bit too bulky for the space, so here's the revised, final, really final this time, strain relief loop in the #GravisGamePad.
It occurred to me today that while I needed a cable with a 1cm outer diameter, and four wires in that cable, I could have chosen one with *more* wires in it to begin with, which would have made them smaller and more flexible. For now I'm just going to pretend I didn't have this revelation at all, and finish the project with what I have.
Tim 🎮 · @timixretroplays
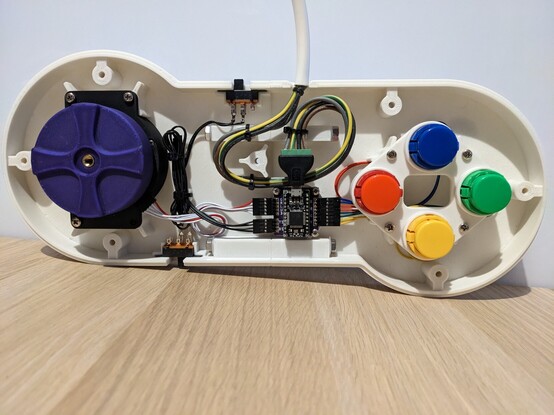
94 followers · 432 posts · Server fosstodon.orgWhile I wait for the USB plug's glue to set, here's an attempt at routing the other end of the cable inside the Giant #GravisGamePad.
The 360° loop isn't for funsies - this thing weighs over half a kilo and I'd like it to be able to survive getting accidentally dangled by the cable, so that loop is for strain relief. Tomorrow I'll get a very short micro-B extension cable to better separate the fragile USB socket on the #Arduino Pro Micro from the forces of its unusually rigid cable.
Tim 🎮 · @timixretroplays
91 followers · 422 posts · Server fosstodon.orgSuccess! Mostly. There's one crucial dimension I've screwed up for the base piece, but it's for the bits that will hold breadboards and stuff in place on the middle rails, so I can at least tick the "square thing with clampy arms" box for this project now.
In the same way a newly built 3d printer prints its own fan and cooling shrouds, this thing will now help me put together its own solder fume extraction fan, and - soon - finish the giant #GravisGamePad's USB cable.
Tim · @timixretroplays
90 followers · 391 posts · Server fosstodon.orgSo the thing holding up the Giant #GravisGamePad is the question of how to finish the cable. I have a ridiculously thick 3-phase power cable (which, to be clear, is only ever going to see 5V - it's never going anywhere near mains power) which needs to mate with this USB plug's tiny solder pads. My best idea so far is to add these short fingers of hookup wire to go "the last mile", but mechanically connecting stranded-to-solid within the <3mm cross section has proven a tough nut to crack.
Tim · @timixretroplays
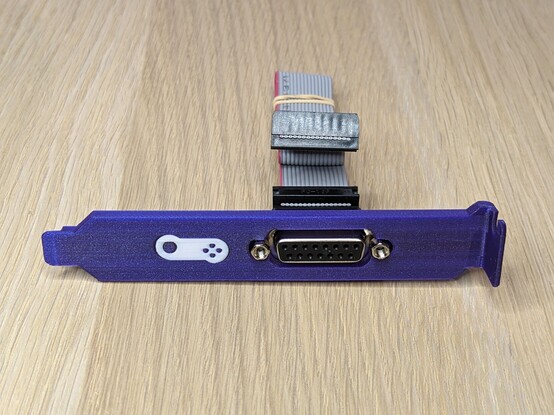
86 followers · 310 posts · Server fosstodon.orgI'm avoiding a tough soldering job on the giant #GravisGamePad project, so here's my home-made, proof-of-concept #Audigy #Gameport
adapter - soon, owners of a #CreativeLabs #SoundBlaster SB0240, SB0350, SB0360, SB0900 or SB0090 card (I *think* this covers the compatibility list) will have somewhere to plug in their Gravis GamePads*!
*Other brands of gamepad are available.
#gravisgamepad #audigy #gameport #CreativeLabs #soundblaster #3dprinting
Tim · @timixretroplays
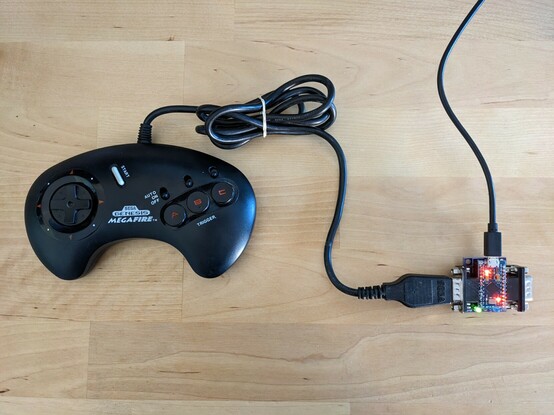
71 followers · 219 posts · Server fosstodon.orgWhile waiting for more parts for the giant #GravisGamePad, I've made progress on a couple of other projects. Here's a 2-port USB-to-SEGA controller adapter. My PCB design skills are half a notch above "banging different rocks together to see if any of them make fire", but this thing works perfectly! It's running Jon Thysell's #FOSS #Arduino library for reading #SEGA controllers plus the Arduino Joystick Library 2.0 to turn inputs into standard gamepad inputs. https://github.com/jonthysell/SegaController
#gravisgamepad #foss #arduino #sega
Tim · @timixretroplays
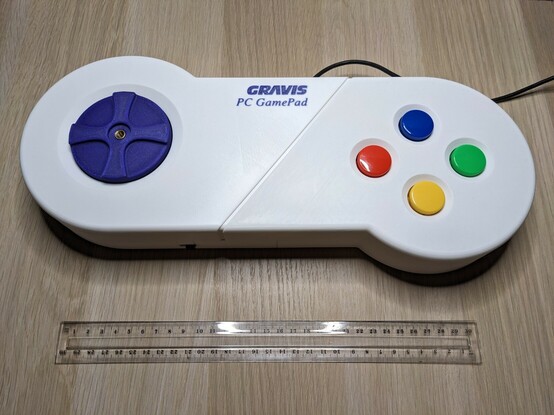
71 followers · 205 posts · Server fosstodon.orgThe body of the giant #GravisGamePad is complete! The latest change was finalising the D-pad itself, which was quite the challenge - I didn't love how it looked ot felt when I just replicated the geometry of the original, so I've taken some creative liberties in how it's shaped.
The last two things on the todo list are some minor tweaks to the shape of the screw-in joystick, and finishing the cable. Another couple of weeks and this thing should be done, done, done!
#gravisgamepad #3dprinting #retrogaming
Tim · @timixretroplays
67 followers · 186 posts · Server fosstodon.orgPrototype D-pad module for the giant #GravisGamePad. There's a lot going on here! The PCB is held in place with 3 screws, and a ball joint with M5 thread is clamped to the underside of the D-pad, which is in turn screwed down over the PCB through the joystick hole. This is then tensioned to ensure the right pressure on the tactile buttons. The slightest lateral pressure on the joystick clicks the buttons, making for surprisingly precise, satisfying and clicky inputs.
#gravisgamepad #retrogaming #3dprinting
Tim · @timixretroplays
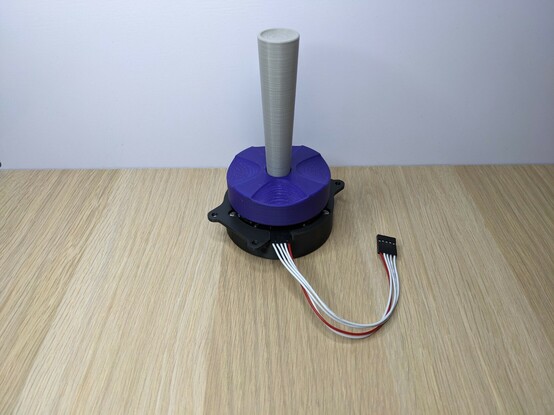
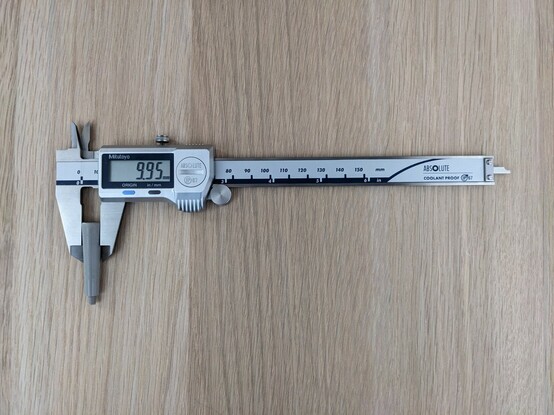
65 followers · 181 posts · Server fosstodon.orgAdam Savage's philosophy when buying new tools is to buy the cheapest one that'll do the job for now, then if you use it enough to need something better, get the best you can. This Christmas, I was spoiled in the nerdiest possible way - with a set of Mitutoyo digital calipers, to replace my several-years-old eBay cheapie set which constantly jams and eats batteries. The rest of the giant #GravisGamePad project will now proceed much more smoothly - starting with the screw-in joystick!
Tim · @timixretroplays
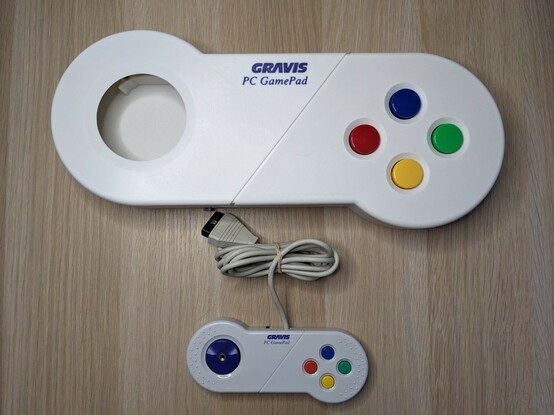
59 followers · 170 posts · Server fosstodon.orgI don't want to alarm anybody, but this is... starting to look really good.
The top surface isn't perfect, but at this point I could waste weeks trying to improve it, and Arrakis teaches the attitude of the knife and all that. I've been making notes as I go along in case I ever want to make another one so a V2 would look even better (anyone want to commission one!?).
The last steps are the D-pad mount and finishing the cable. The end is in sight!
#gravisgamepad #retrogaming #3dprinting
Tim · @timixretroplays
65 followers · 181 posts · Server fosstodon.orgI don't want to alarm anybody, but this is... starting to look really good.
The top surface isn't perfect, but at this point I could waste weeks trying to improve it, and Arrakis teaches the attitude of the knife and all that. I've been making notes as I go along in case I ever want to make another one so a V2 would look even better (anyone want to commission one!?).
The last steps are the D-pad mount and finishing the cable. The end is in sight!
#gravisgamepad #retrogaming #3dprinting
Tim · @timixretroplays
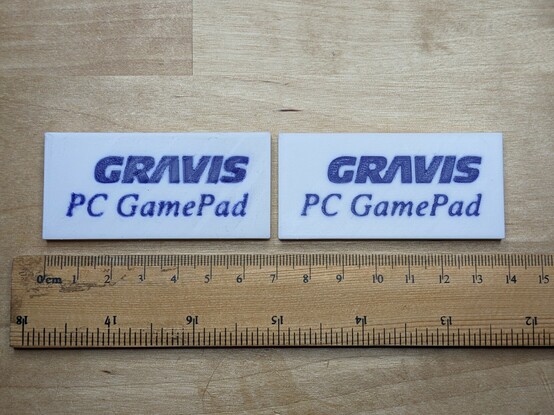
60 followers · 160 posts · Server fosstodon.orgToday's progress seems minor, but there's a lot going on here. Multi-colour printing is a miracle all on its own, and combining it with ironing for a smooth finish is just black magic. On the left is what I started with this morning; on the right, my final effort - fresh off the printer, no post-processing at all!
Note the scale - some parts of these letters are less than 1mm wide, making this one feature the single hardest part of the whole project.
#gravisgamepad #3dprinting #retrogaming
Tim · @timixretroplays
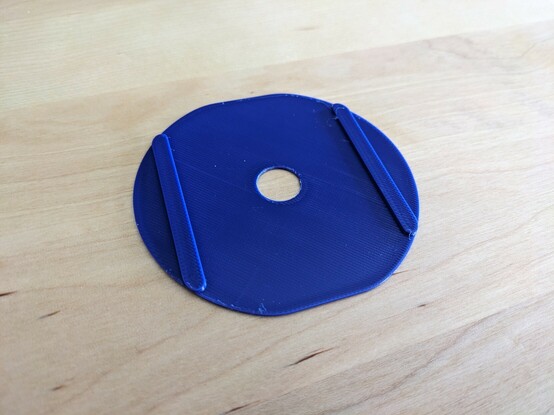
56 followers · 153 posts · Server fosstodon.orgI'm still working on the top shell, and waiting for parts for the cable, so this weekend I've finalised the arcade joystick's dust washer. The giant #GravisGamePad D-pad aperture being so large was a challenge as I had to design something just wide enough to cover it, but also narrow enough to fit between the Sanwa JLF's mounting plate screws. That gorgeous pebbled finish emulates the look of the original Sanwa part, and is courtesy of a textured PEI bed on my Bambu X1. #retrogaming #3dprinting
#gravisgamepad #retrogaming #3dprinting
