Sarah Sammis · @pussreboots
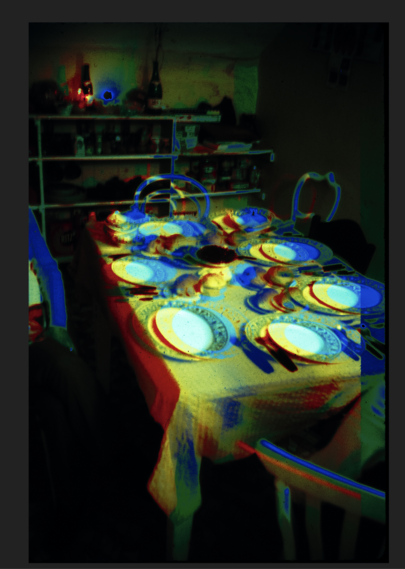
683 followers · 3311 posts · Server sfba.socialSometimes you won't catch a bad scan until months later when you finally get to that batch of images to color correct, etc.
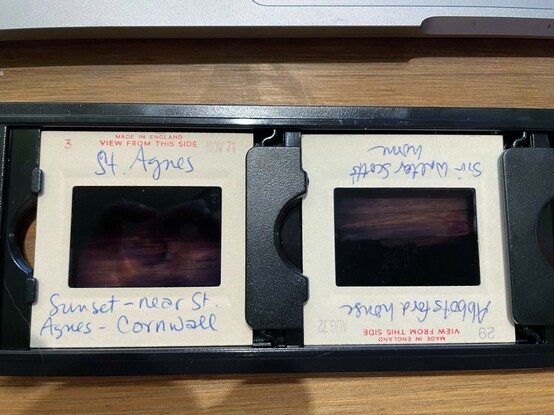
Here's one I found tonight. Sigh....
#slidescanning #workflow #howto
Sarah Sammis · @pussreboots
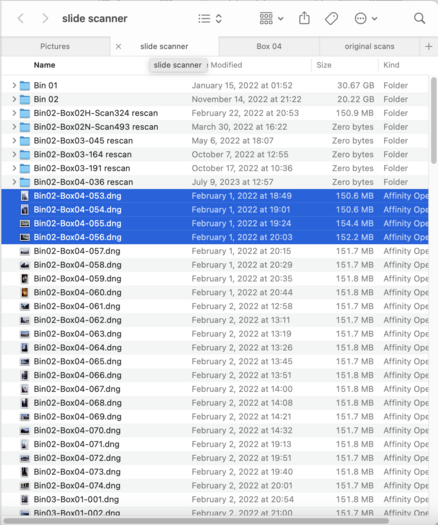
680 followers · 3277 posts · Server sfba.socialIn the previous post you probably noticed some empty folders that are labeled as if they are slides. These are placeholders for slides I need to rescan. A rescan will be necessary for a variety of reasons.
For example:
- Completely forgetting to hit the scan button after seeing the preview
- A poor quality slide because the table was jostled (by dog, people, earthquake)
#slidescanning #workflow #howto
Sarah Sammis · @pussreboots
682 followers · 3271 posts · Server sfba.socialHere's how the slides are sorted on my computer. (I also have back-ups on an external hard drive and the final products are uploaded to Flickr as I have a Pro account there)
I have the entire slide scanning project in a folder. The slide scanner dumps the images into the root level of this nested set of folders. Then I have the finished slides divided up into folders representing their real world organization.
#slidescanning #workflow #howto
Sarah Sammis · @pussreboots
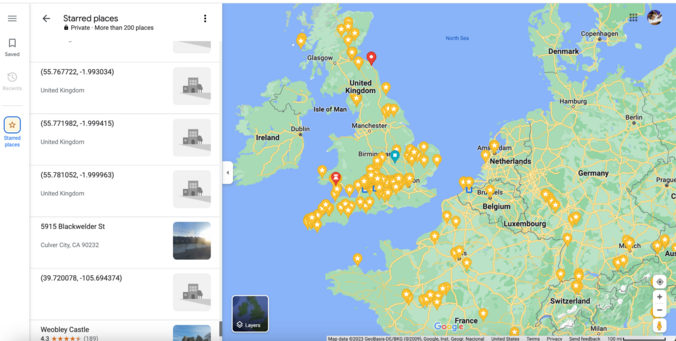
682 followers · 3270 posts · Server sfba.socialA useful site to have open while you're describing your slides is Google Maps. Google allows you to make your own maps where you can pin locations. When you think you've found the spot, drop a pin in your map and make a notation of it in your spreadsheet.
Sometimes two slides might appear to have nothing in common. But when you compare locations via Google Maps and Street View you might be surprised to see that they were literally yards away from each other.
#slidescanning #workflow #howto
Sarah Sammis · @pussreboots
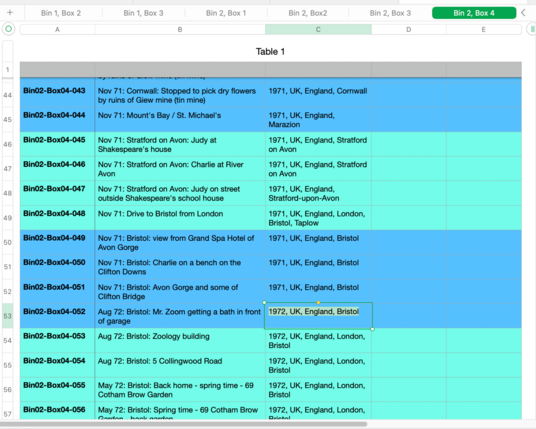
682 followers · 3270 posts · Server sfba.socialAs you scan your slides, keep a list of what you've scanned. The scanning software will give you a preview of what it is scanning. Use the scan time to describe as well as you can what you see.
Given that my in-laws love to travel, location is a key thing for me to figure out. I also provide a list of tags that I will later append to the metadata in the development stage.
Each bin has its own sheet in the spreadsheet. I alternate colors in sets of four as a visual reminder of which four slides were scanned together.
#slidescanning #workflow #howto
Sarah Sammis · @pussreboots
683 followers · 3267 posts · Server sfba.socialHere's what the slides sit in. The one I use holds for. They slot in. From looking at this old photo, I can tell that one of them was in upside down. You can correct orientation in the slide scanning software, although I try to have them all facing the right way in the holder.
#slidescanning #workflow #howto
Sarah Sammis · @pussreboots
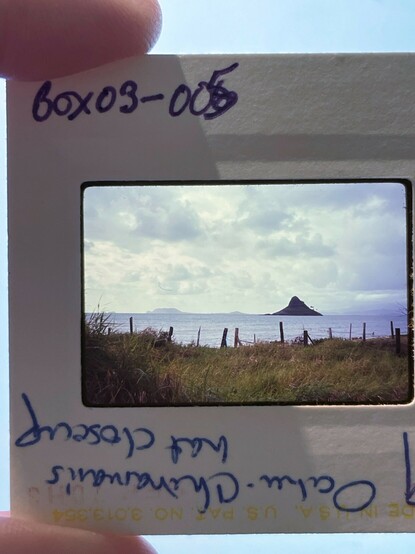
683 followers · 3264 posts · Server sfba.socialHere's an example of a slide with my handwritten number on it.
If you're lucky, the slide will have a description written on it by the person who took it. Often, though, they won't have any description.
Also if you're lucky, the photo shop that developed the slides way back when will have stamped a number and a date on it. That will give you a sense of order for a particular run of slides as well as when they were developed. (It won't tell you when they were taken)
#slidescanning #howto #workflow
Sarah Sammis · @pussreboots
683 followers · 3263 posts · Server sfba.socialSlides themselves look nearly the same. You're going to need some way of telling the slides apart and being able to locate them again in case you need to rescan a slide.
(Yes, scans do sometimes fail or sometimes you think you've scanned a slide only to realize you haven't later during the final processing).
That's where the Sharpie pen comes in. You will number each slide with a unique ID.
In my case, the slides I'm working on have been stored away in bins. These bins contain smaller boxes of slides. So my numbering scheme for each slide is BIN#-BOX#-SLIDE##
You can have the slide scanner start with a custom name and append a number to it, so even the DNG files themselves end up with the numbering scheme.
Each slide you touch. Each slide you scan gets a number written on it in Sharpie. Put it on the side facing up for easier orientation if you need to rescan later.
The same number gets saved to the produced file and finally put as a line in a spreadsheet.
#slidescanning #workflow #howto
Sarah Sammis · @pussreboots
682 followers · 3259 posts · Server sfba.socialI know it's tempting to get the scanning done as quickly as possible. One way to be fast is to ask the scanner to produce low res jpegs. If you do that, you'll hate yourself later.
You want high resolution slides done on a multipass so that you get an image that can be color corrected and manipulated in a program like Lightroom or Affinity. (I use Affinity).
I'm using an OpticFilm 8000i scanner.
I have the scanner produce 3421x5141 DNG (digital negative images). This is a RAW format originally developed by Adobe.
#slidescanning #workflow #howto
Sarah Sammis · @pussreboots
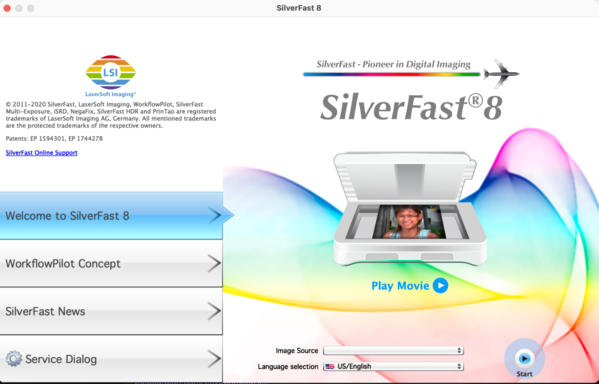
682 followers · 3258 posts · Server sfba.socialI'm using a slide scanner that runs with SliverFast 8 software. The scanner comes with a rack that holds four slides, meaning the initial progress is done in batches of four.
#workflow #slidescanning #howto
Sarah Sammis · @pussreboots
682 followers · 3257 posts · Server sfba.socialSlide scanner technology hasn't changed much in the twenty or so years I've used them. They are basically a box containing a small camera and light that scans the slide and digitizes it.
What has changed over time is the addition of automation -- motors and whatnot with the promise to make bulk scanning faster and more efficient.
BUT: These time saving devices are your first point of failure.
I recommend going with a slide scanner that doesn't do bulk scanning. Yes, the process will be slower and often tedious but you won't have time saving devices failing and essentially bricking your scanner.
#slidescanning #howto #workflow
BioImagingUK · @BioImagingUK
41 followers · 170 posts · Server mstdn.science📢The UK Node is OPEN! 📢
Please tell your networks that they can access a wide range of state-of-the-art and workhorse microscopes with expert support and training provided!
https://www.eurobioimaging.eu/nodes/uk-node
---
RT @YorkBioimaging
Need a confocal? Our York @EuroBioImaging node is not only cutting edge, but also supports fundamental needs #confocalmicrscopy, #SRM #SlideScanning #SEM #TEM #c…
https://twitter.com/YorkBioimaging/status/1628715444986060801
#uknode_eubi #imagingscientist #confocalmicrscopy #srm #slidescanning #sem #TEM #c
