Ralf ter Veer 🧗 · @terveer
94 followers · 68 posts · Server osna.social
Mein aktuelles Bastelprojekt kommt gut voran. Dieser open source Drucker wird wie Lego komplett aus Einzelteilen gebaut, die man überall als Standardmaterial bekommen kann. #voron

Stark · @Stark9837
139 followers · 2697 posts · Server techhub.social#MandicReally on Youtube compared building a #Voron or running #Klipper to being an advanced 3D printing topic and implementing CAN bus to be even a step higher.
I am no beginner at electronics and I found serial to be thw failure of a few prints and I2C and SPI to also fail at larger distances, for obvious reasons, it is not what they are meant for.
I feel CAN bus has become the more mature communication protocol in Klipper and is quite popular in many new add-on boards and 3rd party expansions to your printer.
Has this been the experience for others who have either installed such boards or implemented their own code, Klipper, or even #Moonraker add-ons? Is it really such a pain, show I use it for my custom implementations, or should I just go the #MQTT route for a custom enclosure to control fans, heating, and lights?
#mandicreally #voron #klipper #moonraker #mqtt #3dprinting
Sp4rkR4t :yes_scotland: · @sp4rkr4t
123 followers · 551 posts · Server mastodon.scotWhile I wait on the rest of my #voron parts to arrive I'm testing out a few #ComputeModule clones to see which performs best for the #MantaM8P board I'll be using and apart from the near total lack of documentation this #luckfox #rk3566 board is a bit of a beast and run surprisingly cool. It was bloody cheap as well. #3dprinting #raspialterantives
#raspialterantives #3dprinting #RK3566 #luckfox #mantam8p #computemodule #voron

feezus · @feezus
16 followers · 83 posts · Server mas.to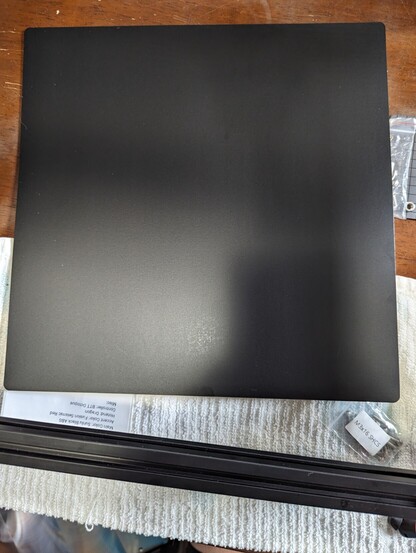
Sp4rkR4t :yes_scotland: · @sp4rkr4t
123 followers · 542 posts · Server mastodon.scotBuilt my #nevermore v6 airfilter to use on my mini while building printing the #voron parts, I even got the magnets the right way round first try, decided to not install the 5015's I have in my box of crap though and got some really blowy ones to make sure it does a good job. #3dprinting
Λ L Ξ X · @alex
29 followers · 118 posts · Server makerspace.social
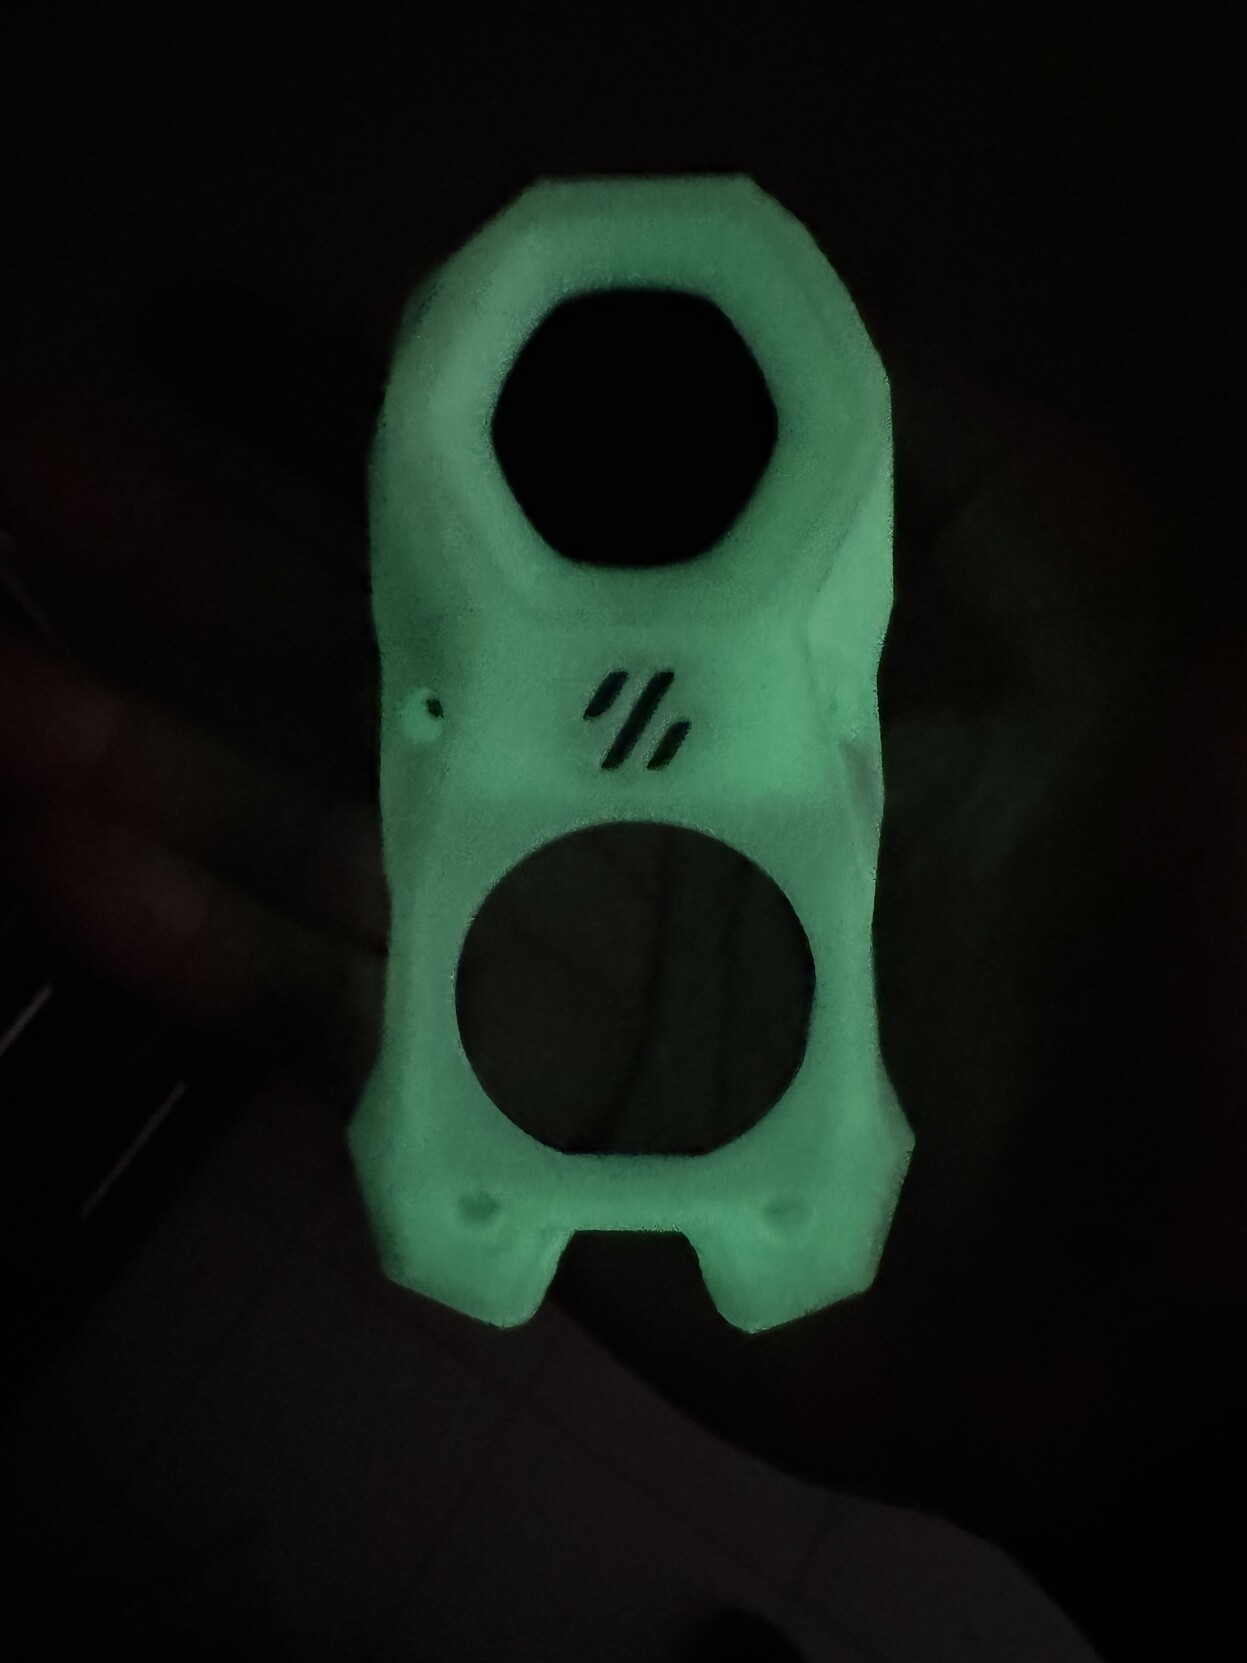
The best color is glow in the dark.
Yes, I’m building another #Voron. Don’t judge me.
Sp4rkR4t :yes_scotland: · @sp4rkr4t
120 followers · 512 posts · Server mastodon.scotThe last of the parts for my #voron 2.4 350 have shipped, coming the slow way around the world so still about a month away but the countdown to build time has begun! #3dprinting
Stark · @Stark9837
485 followers · 2536 posts · Server techhub.social
So, the #Prusa #MMU3 has been out for a few days, and shipping has started. They say that it has been redesigned from the ground up. Most notably for me is the new "cassette" system, which is hopefully an improvement on the old "buffer" system, which was the cause of most people's problems.
I would be interested to see how it plays with non-Prusa printers and how long it will take the #Klipper guys to port it over! I didn't see any mention of the board or controller, so I guess it's custom or proprietary to an extent. It would be nice if we could easily just drop in a #RP2040 or some other CAN-BUS controller.
If that's possible, then we could even chain multiples together and achieve the 16 colors of the #AMS. But at that stage, it might just be better to go for the #EnragedRabit as it is more flexible and has a large modding community, especially for #Voron.
#prusa #mmu3 #klipper #rp2040 #ams #enragedrabit #voron #3dprinting

Derek · @nz0p
38 followers · 80 posts · Server mastodon.hams.social
#voron #3dprinting build update
- Top down webcam installed
- skirts replaced (cracked a display support, need to reprint... Someday)
- lights installed and setup
- smart filament sensor wired (needs testing)
Todo:
- replace can cable
- input shape tuning
- move downstairs
- try out klippain
Derek · @nz0p
37 followers · 79 posts · Server mastodon.hams.social
The #voron build continues.
- Installed 5015 blower fans to recirculate the chamber today.
- Replaced the rail mounts with versions with bearings.
- shifted rails up a bit to make room for corner belt covers
- mounted and routed a USB webcam (need to setup
Todo:
- led strip wiring
- swap skirts with abs parts
- clean up wiring
- mount bottom panel
- replace can cable and mount to hot end
Derek · @nz0p
37 followers · 78 posts · Server mastodon.hams.social
A box full of skirts and black abs parts to install
Switching to red accent part printing. Will be flipping to bed to textured parts after this print
Sp4rkR4t · @sp4rkr4t
118 followers · 474 posts · Server mastodon.scotFinal bit of repairs and upgrades done to the #prusa mini after the #revo melted a lot of the printed parts. Took the opportunity to redesign the x carriage parts to use heat set inserts, went together beautifully and I'm feeling more confident using them for the #voron build.
Nice to have the little thing chugging along again.
#3dprinting #voron #revo #prusa
Derek · @nz0p
37 followers · 77 posts · Server mastodon.hams.social
Still working my way thru functional printed parts for the #voron
Mounted a Pi Camera 3 (tho the mount is too tight, need to grow it a bit)
Sealed the exhaust vent and remounted the umbilical cord on CAN cable
Todo:
- switch to red and print lots of accent parts
- mount and wire led strips
- wire filament sensor
- lots of panel clips to reprint in ABS
- maybe a top mounted webcam?
Sp4rkR4t · @sp4rkr4t
118 followers · 458 posts · Server mastodon.scotThis is a long tail of failure #3dprinting, I'm sorry.
#Prusa mini+ with #revo working great, then after days of printing ASA #voron parts it fails, bad layers, underexrusion, the works.
Took extruder, hotend & tubing apart and cleaned and checked, no change then noticed smoke from nozzle, tried new nozzle and filament, no change, contacted E3d who sent new heatercore, no change.
Now both thermistors report stable temps but I think the mini board might be lying, is that possible?
#voron #revo #prusa #3dprinting

3D Printing · @3dprinting
375 followers · 1050 posts · Server techhub.social
3D Printing · @3dprinting
368 followers · 1037 posts · Server techhub.social#Voron! Do you have one? Did you build it, source it, or did you buy it? Share your Voron below so that we can see your baby!
feezus · @feezus
12 followers · 55 posts · Server mas.toAnyone build a #voron sourcing their own parts? Is it worth it over just getting a kit? #3dprinting #diy
Derek · @nz0p
36 followers · 60 posts · Server mastodon.hams.socialFinally got it started and wasnt extruding, i didnt close the extruder door correctly, so wasnt touching filament
Now its bed time
So maybe i can get thru squish and pressure advance tomorrow
Ideally can start printing extuder flow calibration
So maybe i can get thru squish and pressure advance tomorrow
Ideally can start printing extuder flow calibration
3/3
Derek · @nz0p
36 followers · 59 posts · Server mastodon.hams.socialSo spent the next half hour changing around slicer settings
Then got thru heat soak, gantry level, and bed mesh, only for hot end to error out on heating
My max_temp = 250 and also my filament temp = 250, so errored out
Took doing that twice to find the setting that i had wrong in config
2/
Derek · @nz0p
36 followers · 58 posts · Server mastodon.hams.socialSpent 3 hours tonight trying to get ABS to print for the first time on #voron
First issue i had the chamber temp for heat soak set to 50C and after 45 min it was still stuck at 46 deg
Need to print recirc fans and seal up the back the rest of the way
1/